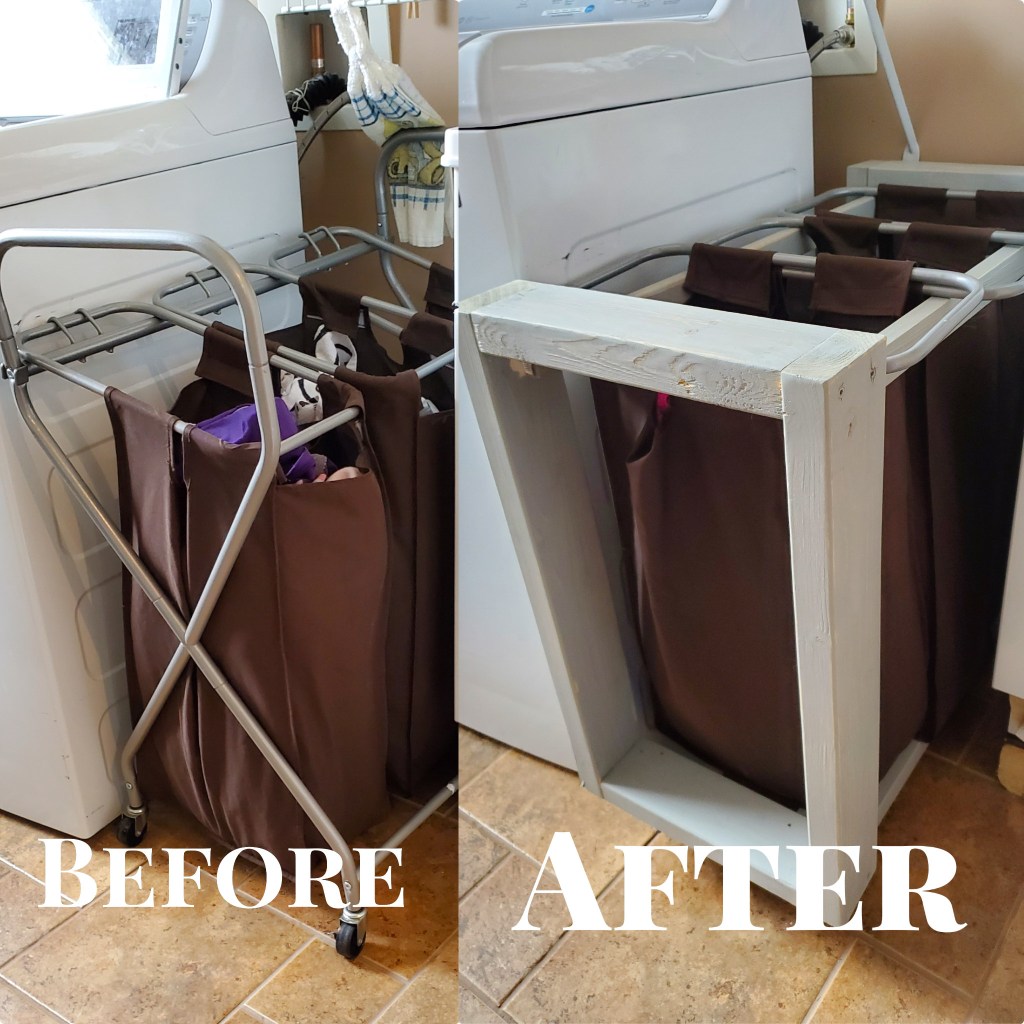
After building my Outdoor Sofa, I had a bunch of 2x4s left over and needed another project! One of my big annoyances was with our laundry caddy. It was a 3 bag, rolling, metal laundry caddy that we bought from Target. Don’t get me wrong, I love me some Target, but this thing drove me crazy! After several years of use, the metal bent and the bags would hang down and almost fold on top of themselves. Even after trying to bend the metal back, reinforce it, etc. nothing worked. The original caddy:
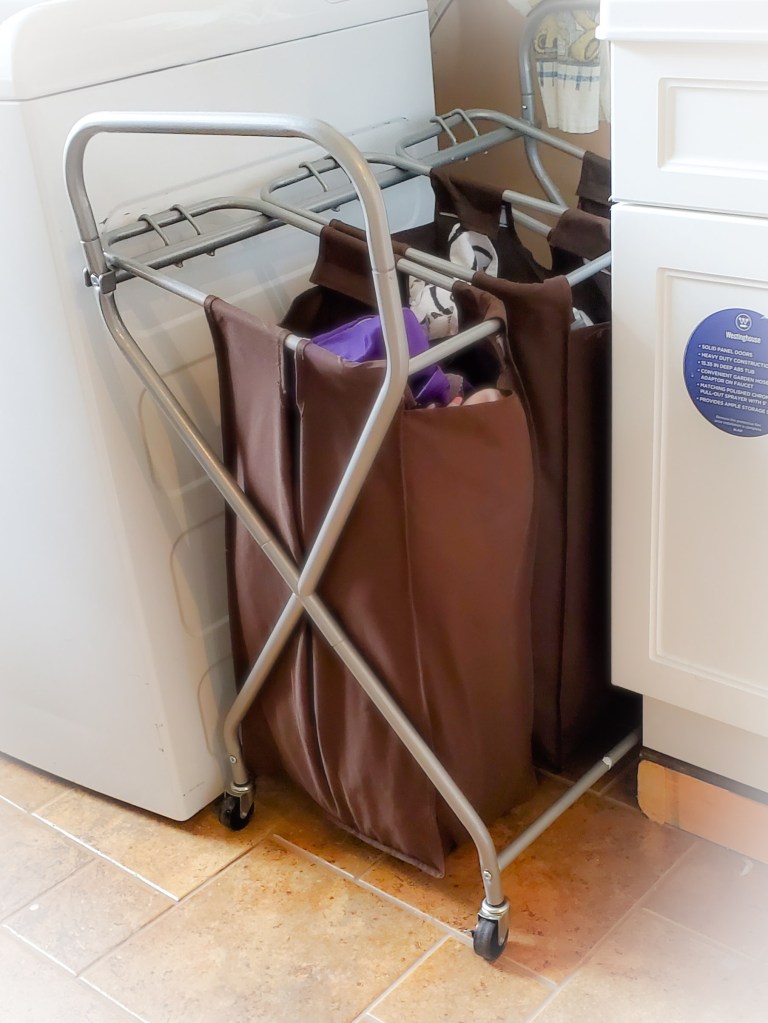
As you can see from the picture, the bags wouldn’t hang even so I decided building a new laundry caddy was going to be my next project! Since the caddy fit perfectly in between our washer and laundry sink, plus needing to fit the bags, I started by measuring the space between the washer and sink, then measuring the metal caddy. I originally thought I was only going to use 2x4s, but then thought a 2×4 would look too bulky as the support for the bags so I went with a 1×2 board instead. My cut list is a follows:
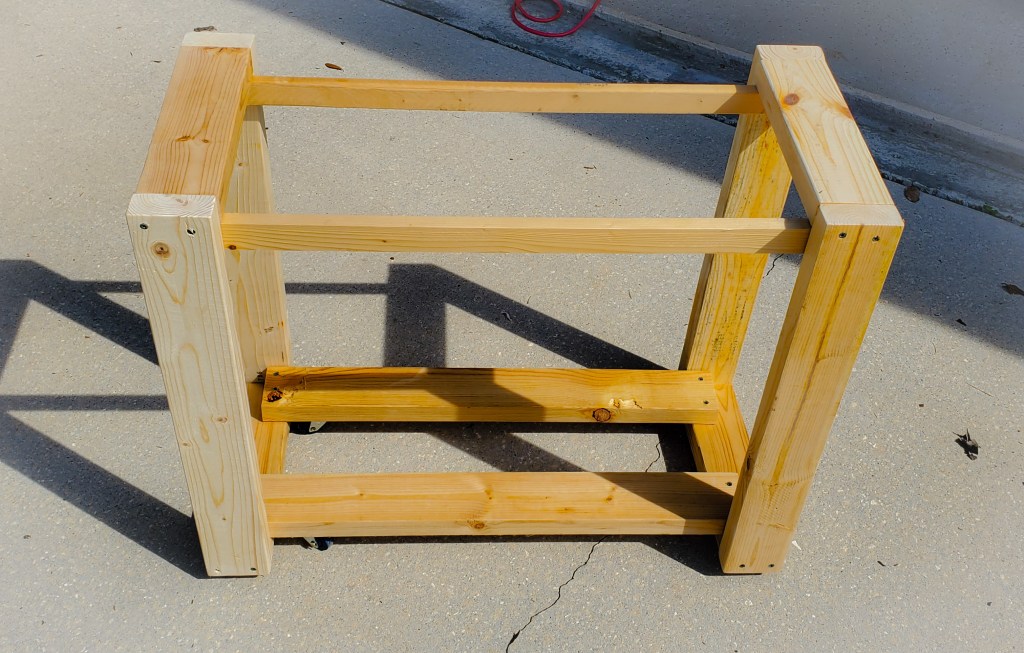
- 4 – 2×4 cut at 12 1/4 in (top and bottom width pieces)
- 4 – 2×4 cut at 26 in (vertical pieces
- 2 – 2×4 cut at 29 3/4 in
- 2 – 1×2 cut at 29 3/4 in
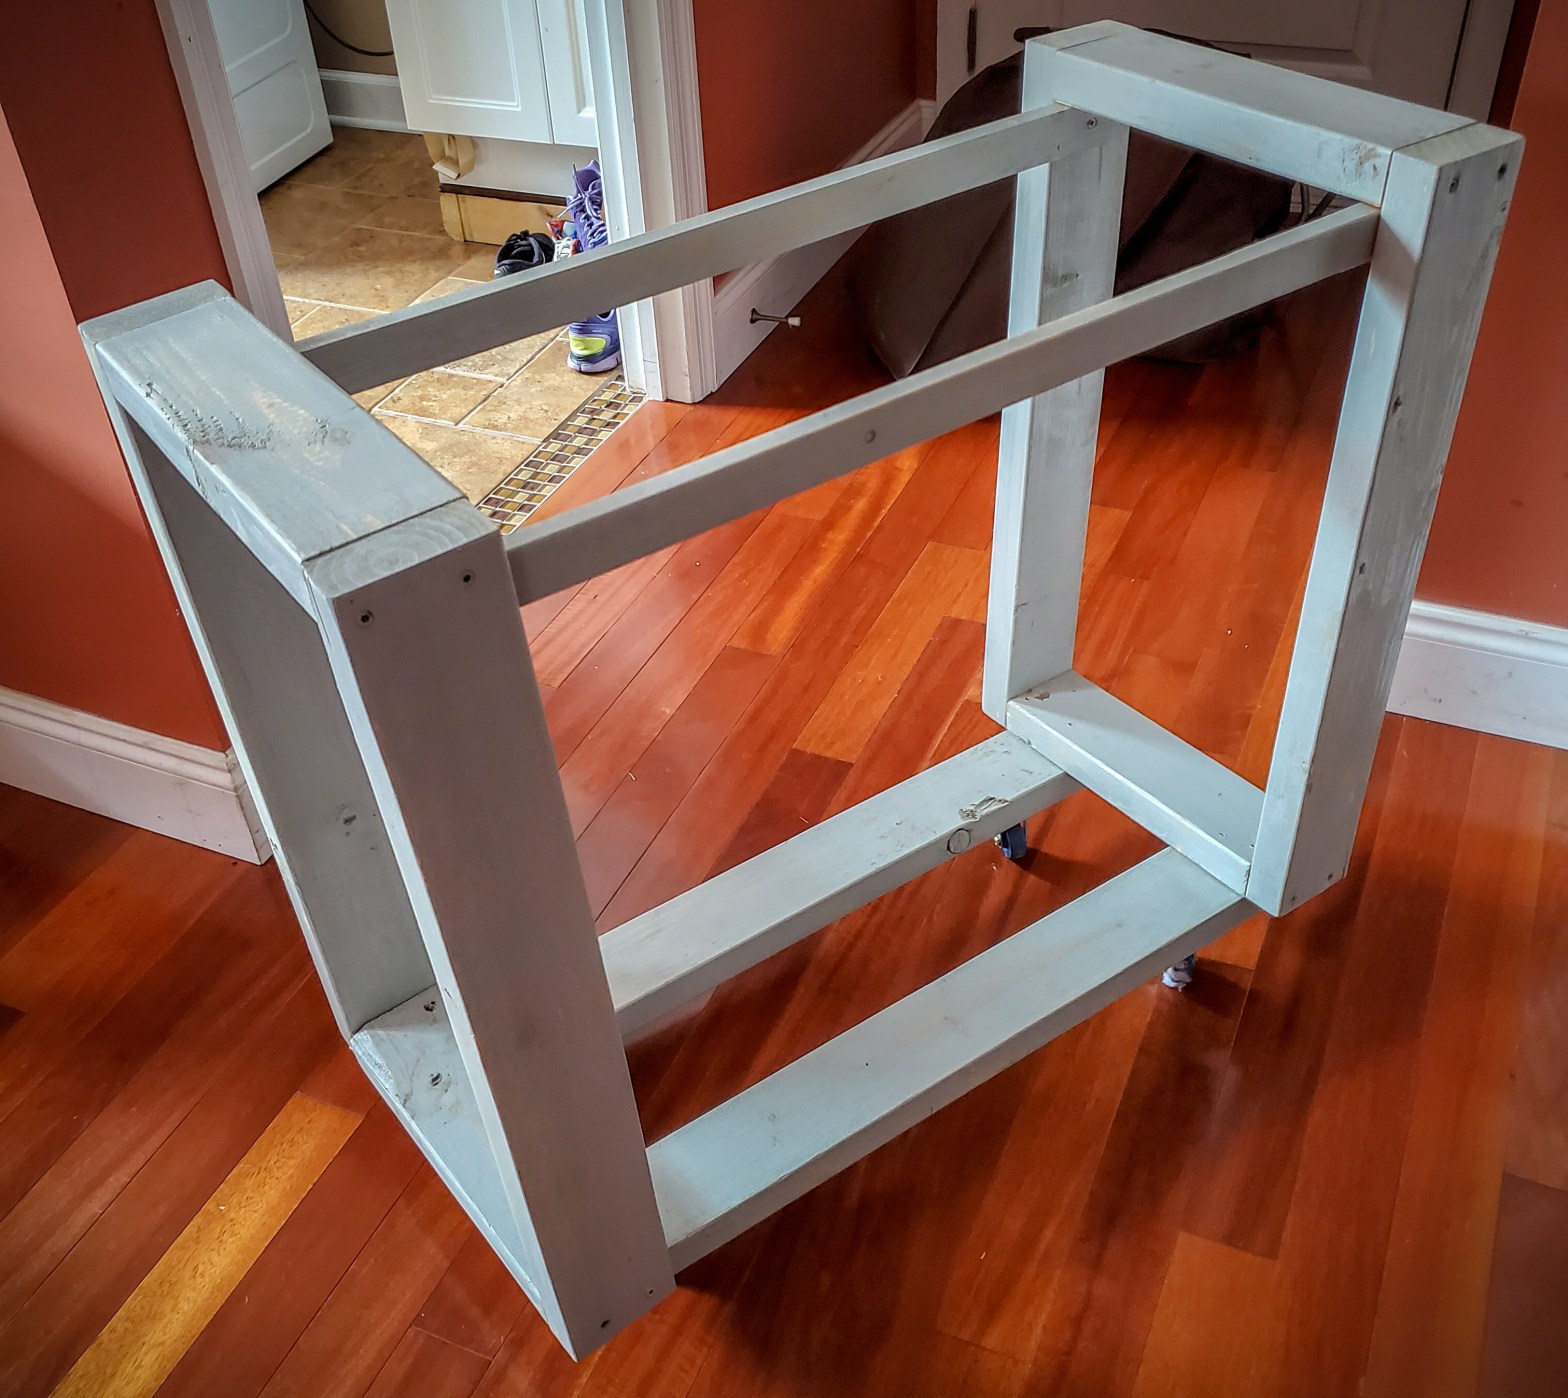
You can also get swivel casters of your choice. I went with some 2 inch rubber swivel casters. Assembling the caddy was quite easy! Attach the 12 1/4 in boards to the 26in boards to make your frame. Then attach your 29 3/4 2x4s to the inside of your bottom frame and the 29 3/4 1x2s to the inside of your top frame. The bottom and top pieces were not flush with exterior, but about center of the board at 1 3/4in.
Next was sanding! I sanded the entire caddy with my Ryobi Corner Cat Finishing Sander and then attached the swivel casters to the bottom. I decided to stain the wood with Varthane Weathered Gray Stain.