
I consider my passion for gardening and somewhat green thumb genetic. My grandfather could seemingly make anything grow! His house was full of plants and fruit trees in the backyard. One of my fondest memories is spending time with him picking lemons, limes, and grapefruits from the trees and other assorted fruits and veggies from the garden. Most of my family members from that side of the family shared that passion and skill for gardening. For me, I always wanted that same HUGE garden! Living in small apartments and moving every single year made that practically impossible. However, even when I lived in small spaces, I always tried to have plants and grow herbs and small veggies… once even covering an entire patio with potted fruits and veggies to grow.
Once we finally had a yard, the garden could finally become a reality. However, being the nomads we are, we decided on building raised garden beds rather than ground contact ones with the thought that we could pick up the raised beds and move them to our next destination (not really practical and I’ll explain why later). I again searched through the internet to find (let’s be honest) the most simple and cheap plans. At the time, I didn’t own any saws so I didn’t want to be “that person” that walked into the store and asked for all these complicated wood cuts. I used a few designs I found to come up with this:

Here is the cut list (with your wood of choice):
2 – 2×10 @ 48″ (long side panel)
2 – 2×10 @ 14.5″ (short side panel)
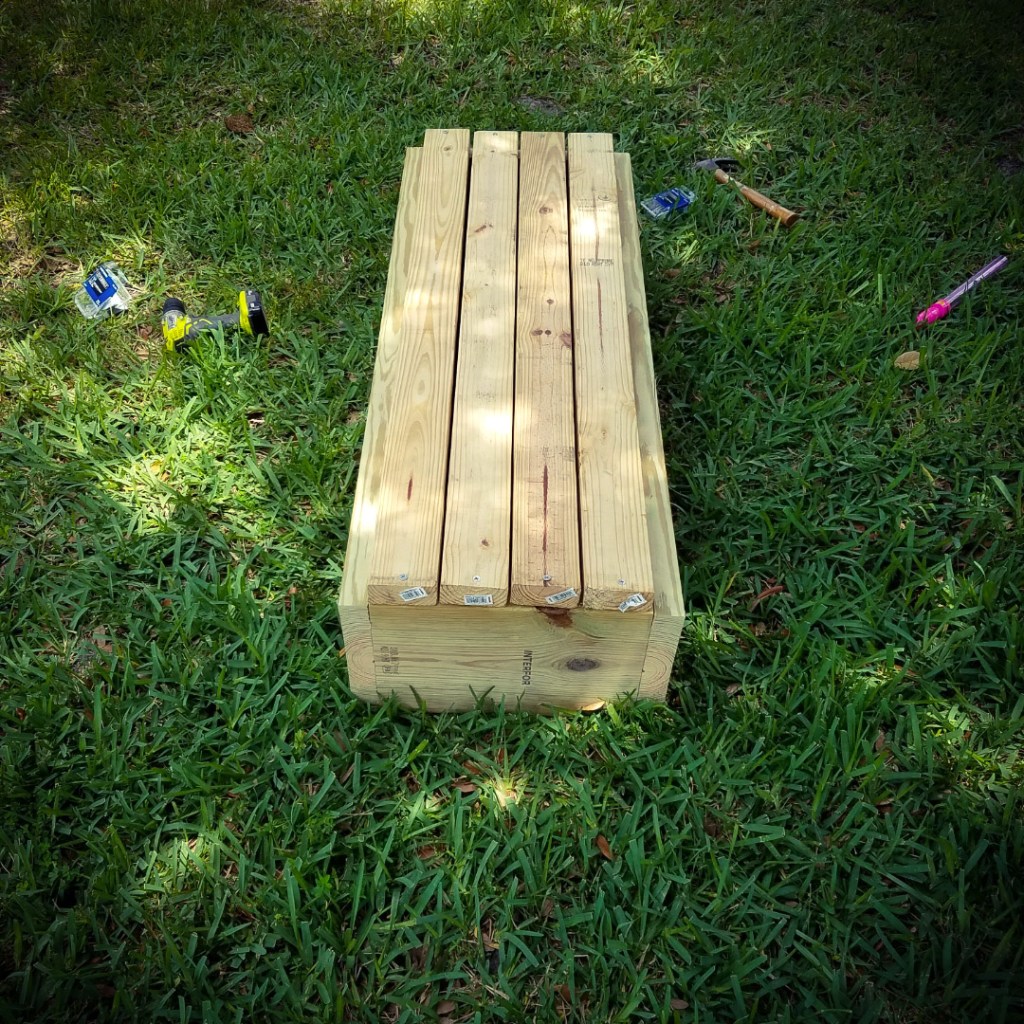
4 – 2×4 @ 48″ (base)
4 – 2×4 @ 24″ (legs)
I used 3″ deck screws to put everything together.
First, I started with the box itself, joining the long and short side panels together.

Next, I took the 48″ 2x4s and joined them to the short side panels creating the bottom. They will not fit flush together. The small spaces between the boards allow water to drain out of the bottom. Keep that in mind too when you are initially filling it with soil or changing out the soil entirely as some will fall out of the bottom if you choose not to put some type of liner in it.
Next, I attached the legs to the sides of the long panels. I attached them about an inch or so away from the ends to not overlap screws. Plus, it didn’t really bother me that the ends were not flush.
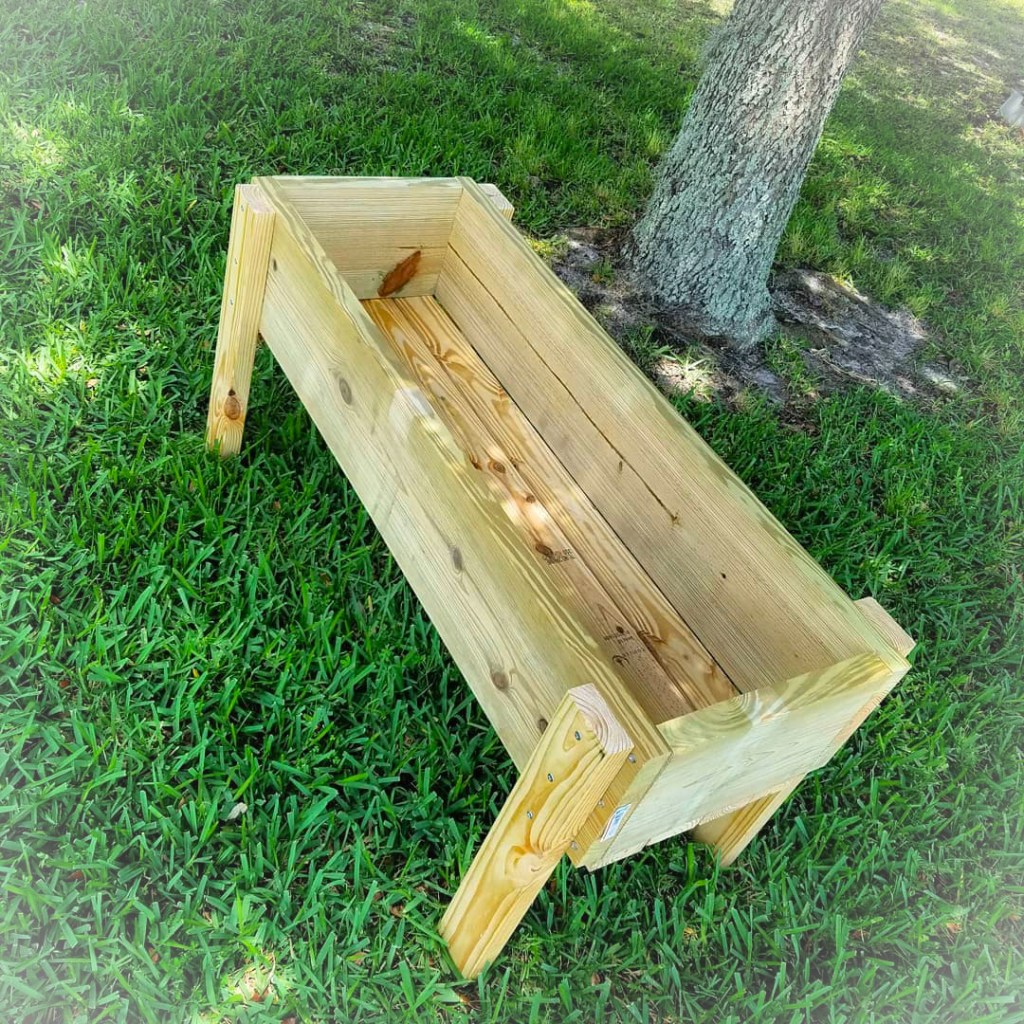
AND IT’S DONE!
A few things to note: The finished product is pretty heavy so you will need someone to help you put it in its final spot. Also, DO NOT put the soil in it before you have chosen where to put it. You will not be able to move it once it is full of soil unless you are The Hulk.
